How to Fix Dress Zippers: Quick Solutions for Formal Events

How to Fix Dress Zippers: Quick Solutions for Formal Events
A stuck zipper on a formal dress can cause panic right before a big event. Most people expect rips or spills, but fabric snags account for the majority of dress zipper failures. The real surprise is that with the right approach and a little patience, you can salvage your dress and avoid a last-minute wardrobe meltdown.
Table of Contents
- Step 1: Assess The Zipper Issue
- Step 2: Gather Necessary Tools And Supplies
- Step 3: Remove The Zipper If Necessary
- Step 4: Repair Or Replace The Zipper Teeth
- Step 5: Reattach The Zipper And Test Functionality
- Step 6: Verify And Ensure Smooth Operation
Quick Summary
| Key Point | Explanation |
|---|---|
| 1. Assess the zipper condition first | Conduct a visual inspection to identify issues like misalignment or fabric caught in the teeth before attempting repairs. |
| 2. Gather essential repair tools | Assemble a repair kit with tweezers, scissors, lubricants, and a sewing kit to handle zipper emergencies effectively. |
| 3. Remove the zipper carefully if needed | If the zipper is irreparable, use a seam ripper to remove it meticulously to avoid damaging the dress fabric. |
| 4. Repair or replace damaged zipper teeth | Realign any bent teeth with pliers, but consider replacement if multiple teeth are broken to maintain functionality. |
| 5. Test zipper functionality thoroughly | After reattaching, zip and unzip several times while wearing the dress to ensure smooth operation under real conditions. |
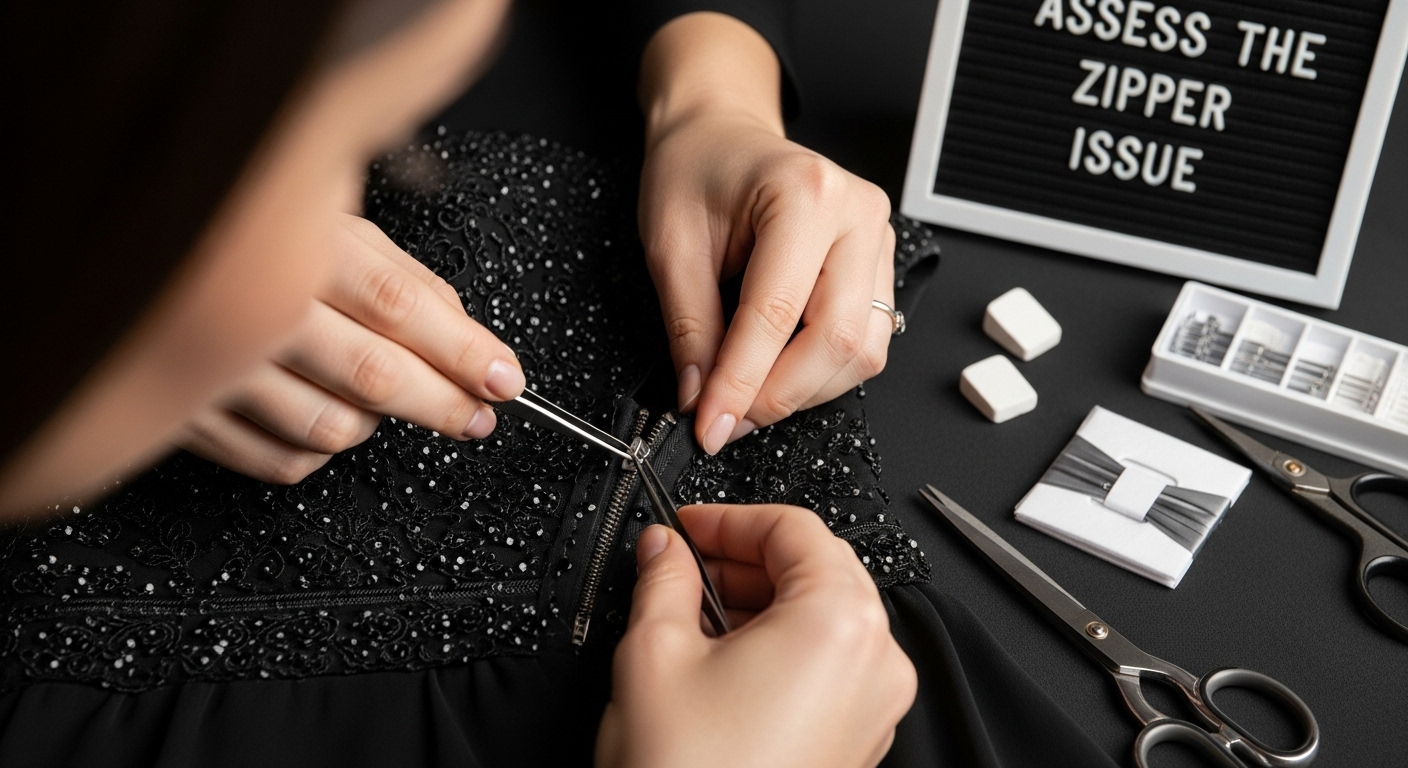
Step 1: Assess the Zipper Issue
Zipper malfunctions can turn a perfect formal event outfit into a potential wardrobe disaster. When you first notice a problem with your dress zipper, taking a systematic approach to assessment is crucial. Before attempting any repairs, pause and carefully examine the zipper’s condition to determine the most appropriate solution.
Identifying Common Zipper Problems
Start by conducting a thorough visual inspection of the entire zipper mechanism. Look closely at the teeth alignment, checking for any signs of misalignment, fabric caught between the teeth, or visible damage. Fabric snags are the most frequent culprits of zipper malfunction, often preventing smooth movement and causing frustration.
Run your fingers gently along the zipper track, feeling for any irregularities or points of resistance. Pay special attention to areas where fabric might be pinched or where the zipper seems stiff. If you detect any fabric threads or material trapped in the zipper teeth, do not force the zipper. Instead, use a pair of tweezers to carefully extract the caught material without causing additional damage.
Diagnostic Techniques for Zipper Evaluation
Research from the Textile Repair Institute suggests examining the interior construction of the garment can provide critical insights into potential zipper issues. Look for telltale signs like puckered seams near the zipper, uneven stitching, or loose threads that might indicate underlying structural problems.
To test the zipper’s functionality, slowly and gently attempt to zip and unzip a small section. Observe how the teeth come together and separate. A well-functioning zipper should move smoothly without excessive force. If you notice significant resistance, grinding sounds, or visible misalignment, this indicates a more complex repair might be necessary.
Key diagnostic points to remember include:
Below is a table summarizing the most common dress zipper problems, their likely causes, and recommended solutions for quick troubleshooting.
| Problem | Likely Cause | Recommended Solution |
|---|---|---|
| Stuck zipper | Fabric or thread caught in teeth | Gently remove material with tweezers |
| Misaligned zipper teeth | Teeth bent or out of alignment | Realign using needle-nose pliers |
| Zipper won’t stay up/down | Damaged or worn slider | Replace the slider |
| Stiff zipper movement | Lack of lubrication or dirt | Apply silicone spray or graphite |
| Teeth fail to interlock | Broken or missing teeth | Replace zipper if multiple teeth broken |
| Fabric puckering around zipper | Uneven stitching or tension | Re-sew area or adjust thread tension |
- Check for fabric entanglement in zipper teeth
- Verify smooth up and down movement
- Examine surrounding fabric for potential interference
- Listen for unusual sounds during zipper operation
By meticulously assessing the zipper’s condition before attempting any repair, you increase the likelihood of a successful fix and minimize the risk of causing additional damage to your formal dress.
Step 2: Gather Necessary Tools and Supplies
Before diving into zipper repair, assembling the right tools can mean the difference between a quick fix and a potential wardrobe catastrophe. Preparation is key when addressing dress zipper issues, especially for formal events where time and appearance are critical.
Essential Repair Kit Components
Precision is paramount when selecting tools for zipper repair. Start by collecting a compact repair kit that includes several fundamental items. Needle-nose tweezers will be your primary instrument for carefully extracting fabric caught in zipper teeth. A small pair of sharp scissors allows for precise trimming of loose threads or fabric edges that might impede zipper movement.
Silicone-based lubricants or specialized zipper wax become crucial for unsticking stubborn mechanisms. Graphite pencils can serve as an alternative lubricant, providing a dry solution that reduces friction between zipper teeth. Invest in a quality sewing kit containing fine needles, thread matching your dress color, and small scissors for intricate work.
Strategic Tool Selection
Research from the University of Nebraska-Lincoln Extension emphasizes the importance of having the right tools for textile repairs. Your emergency zipper repair kit should also include:
- Small safety pins (as temporary backup)
- Fabric chalk or marking pencil
- Needle-nose pliers
- Clear nail polish (for preventing thread unraveling)
- Soft cloth for cleaning zipper teeth
Consider storing these tools in a compact, clear makeup bag or small zippered pouch.
The table below lists essential tools for dress zipper repair, with a brief description of each tool’s purpose to help you prepare an effective repair kit.
| Tool/Material | Purpose |
|---|---|
| Needle-nose tweezers | Extract fabric/thread caught in zipper teeth |
| Small sharp scissors | Trim loose threads or obstructive fabric edges |
| Silicone spray/zipper wax | Lubricate and ease zipper movement |
| Graphite pencil | Alternative dry lubricant for zippers |
| Seam ripper | Remove zipper without damaging the dress |
| Matching thread & needles | Reattach or reinforce zipper seams |
| Needle-nose pliers | Realign or adjust bent zipper teeth |
| Safety pins | Temporary closure or backup solution |
| Fabric chalk/pencil | Mark seam lines accurately during repairs |
| Clear nail polish | Prevent thread unraveling near zipper area |
| Soft cloth | Clean zipper teeth before lubricating |
This ensures all items are easily accessible and organized, preventing last-minute panic when a zipper emergency strikes.
Remember that having these tools readily available transforms a potential fashion disaster into a manageable quick fix, allowing you to maintain your confidence and composure during important formal events.
By methodically gathering these supplies before attempting any repair, you set yourself up for a successful intervention. The right tools not only solve immediate zipper problems but also provide a sense of preparedness that can be invaluable in high-pressure situations.
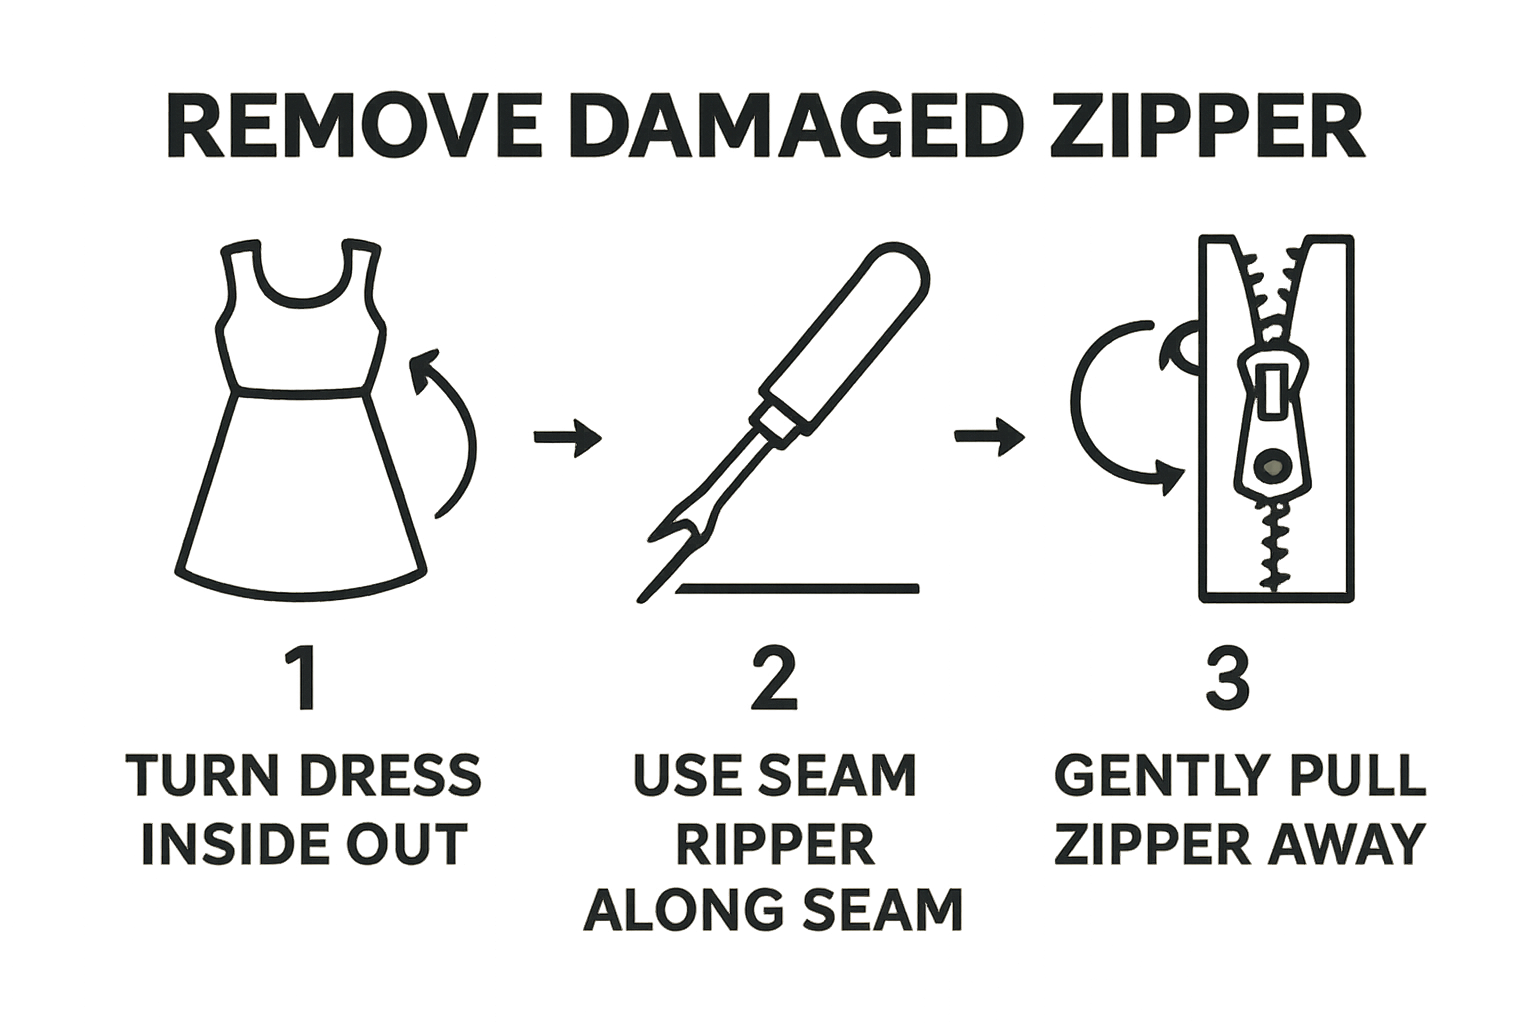
Step 3: Remove the Zipper if Necessary
Sometimes a dress zipper requires complete removal rather than a simple repair. Understanding when and how to carefully extract a damaged zipper is crucial to preserving the integrity of your formal dress. Not all zipper issues can be resolved with quick fixes, making precise removal a critical skill for maintaining your garment’s appearance and functionality.
Assessing Zipper Removal Requirements
Careful evaluation determines whether complete zipper replacement is necessary. Look for signs of irreparable damage such as broken teeth, significant rust, or extensive fabric distortion around the zipper mechanism. When the zipper slider moves erratically or teeth consistently fail to interlock, removal becomes the most strategic approach. Proceed with removal only after confirming that the existing zipper cannot be repaired through simpler methods.
Begin by turning the dress inside out, providing full access to the zipper’s stitching. Use a seam ripper with extreme precision, working slowly to avoid creating additional fabric damage. Position the seam ripper underneath the original zipper stitches, gently cutting through each thread without pulling or stretching the surrounding fabric. Move methodically along the entire zipper length, taking care not to snag or tear the dress material.
Precision Removal Techniques
Research from the Home Sewing Association emphasizes the importance of maintaining garment structure during zipper removal. Work in good lighting and use tweezers to help extract smaller thread fragments after initial cutting. Keep the fabric taut but not stretched, using your non-dominant hand to stabilize the material while carefully removing stitches with the seam ripper.
Key considerations during zipper removal include:
- Maintain consistent thread removal pressure
- Work slowly and methodically
- Protect surrounding fabric from accidental cuts
- Preserve original seam lines for future zipper installation
Once all stitches are removed, gently pull the zipper away from the fabric. Inspect the surrounding area for any remaining thread fragments or potential fabric weakening. A clean, careful removal sets the stage for successful zipper replacement, ensuring your formal dress remains in pristine condition for your important event.
Step 4: Repair or Replace the Zipper Teeth
Zipper teeth damage can transform a stunning formal dress into a potential wardrobe malfunction waiting to happen. Understanding how to diagnose and address zipper tooth issues becomes critical for preserving your cherished garment and maintaining your confidence during important events.
Diagnosing Zipper Tooth Damage
Careful visual inspection reveals the extent of zipper tooth problems. Look for misaligned, bent, or broken teeth that prevent smooth closure. Some teeth might appear slightly warped or separated, creating gaps that compromise the zipper’s structural integrity. Gently run your fingers along the zipper track, feeling for any irregularities or points of resistance that indicate potential damage.
Small imperfections can often be corrected using needle-nose pliers. Carefully realign individual teeth by gently bending them back into their original position. Work with extreme precision, applying minimal pressure to avoid breaking the teeth completely. If more than two or three teeth are significantly damaged, replacement might be the most reliable solution.
Repair and Replacement Strategies
The Mountaineers recommend maintaining zipper functionality through careful cleaning and handling. When repairing zipper teeth, consider these critical approaches:
- Inspect the entire zipper length for consistent damage
- Use needle-nose pliers for minor tooth realignment
- Check slider functionality after teeth adjustment
- Evaluate whether partial or complete replacement is necessary
If multiple teeth are damaged or the zipper consistently fails to close properly, professional replacement becomes the most prudent option. Specialty fabric stores and tailors can often source matching zipper replacements that preserve your dress’s original aesthetic. For vintage or designer dresses, consulting a professional ensures the repair maintains the garment’s structural and visual integrity.
Successful zipper tooth repair requires patience, precision, and a willingness to recognize when professional intervention might be the best path. By carefully assessing the damage and choosing the appropriate repair strategy, you can restore your dress’s functionality and ensure you look stunning at your formal event.
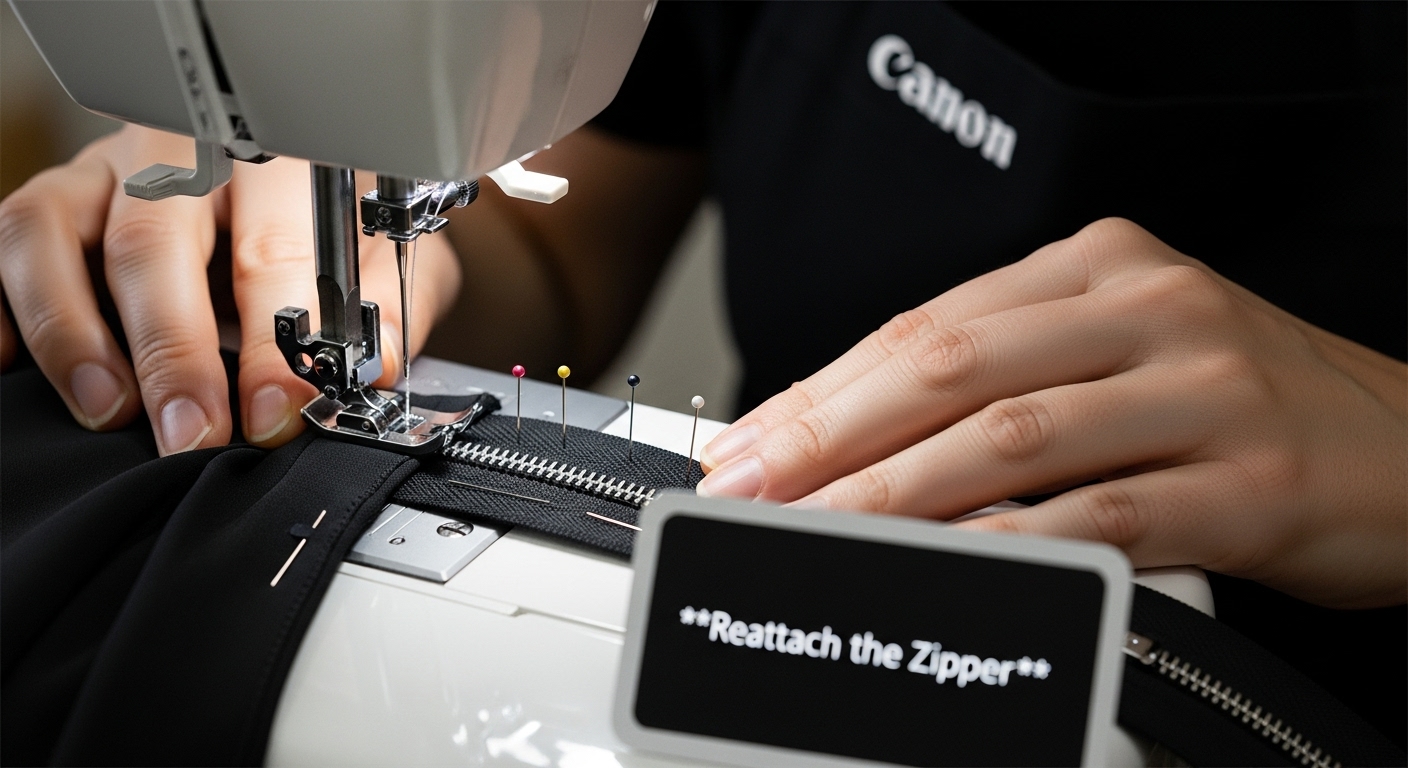
Step 5: Reattach the Zipper and Test Functionality
Reattaching a zipper represents the critical moment where your repair efforts culminate in either success or potential disappointment. Precision during this stage determines whether your formal dress will be event-ready or require professional intervention.
Careful Zipper Alignment
Positioning is everything when reattaching a zipper to your dress. Begin by turning the garment inside out, laying it flat on a clean surface with good lighting. Align the new or repaired zipper carefully, ensuring the teeth match perfectly with the original seam lines. Use fine sewing pins to temporarily secure the zipper in place, placing them perpendicular to the zipper track to allow smooth machine or hand sewing.
Select thread that precisely matches your dress color, understanding that visibility can compromise the garment’s aesthetic. If hand sewing, use small, consistent stitches that blend seamlessly with the original seam. For machine sewing, adjust your machine’s tension and select a zipper foot to ensure close, clean stitching along the zipper’s edge.
Functionality Testing Protocols
Research from New Mexico State University emphasizes the importance of thorough functionality testing after zipper reattachment. After completing the stitching, perform a comprehensive series of movement tests to verify the zipper’s performance:
- Zip and unzip the mechanism multiple times
- Test zipper movement while wearing the dress
- Check for smooth teeth interlocking
- Verify no fabric catching occurs during operation
Gently manipulate the zipper, watching for any resistance or misalignment. Stand in front of a mirror and practice zipping and unzipping, paying attention to how the fabric moves and whether the zipper glides smoothly. If you encounter any stiffness or catching, revisit your stitching and realign the zipper teeth.
Successful zipper reattachment transforms a potentially ruined dress back into a stunning outfit. Your careful attention to detail ensures that your formal wear remains elegant and functional, ready to help you shine at your important event.
Step 6: Verify and Ensure Smooth Operation
The final stage of zipper repair demands meticulous attention to detail and a systematic approach to verifying functionality. What might seem like a completed repair could still harbor subtle issues that could compromise your dress’s appearance and performance during a critical moment.
Comprehensive Operational Testing
Movement is the ultimate test of zipper repair. Begin by examining the zipper in different positions and under varied tensions. Slowly zip and unzip the mechanism multiple times, paying close attention to how smoothly the slider travels along the teeth. Listen for any unusual sounds that might indicate residual friction or misalignment. A properly repaired zipper should glide effortlessly, without catching, grinding, or requiring excessive force.
When testing, simulate real-world conditions by moving in the dress as you would during an event. Bend, stretch, and perform subtle movements that might stress the zipper mechanism. This dynamic testing reveals potential weaknesses that static examination might miss. Observe how the fabric moves around the zipper, checking for any puckering, pulling, or uneven tension that could signal an imperfect repair.
Final Verification Protocols
Research from New Mexico State University highlights the importance of comprehensive zipper functionality assessment. Implement these critical verification steps:
- Zip and unzip at least 10 consecutive times
- Test zipper while wearing the dress
- Check zipper performance at different body angles
- Verify no fabric distortion occurs during movement
- Inspect for any loose threads or potential stress points
Consider applying a small amount of fabric-safe lubricant if you detect any minor resistance. Graphite from a pencil or specialized zipper wax can reduce friction and enhance smooth operation. Remember that a successful repair is not just about making the zipper work, but ensuring it performs flawlessly under the most demanding conditions of your formal event.
Ultimately, your goal is a zipper that functions so seamlessly that it becomes invisible, allowing you to focus on enjoying your event with complete confidence and style.
Here is a checklist table to guide you through verifying your dress zipper repair, ensuring your garment is ready for your next formal event.
| Verification Step | Pass/Fail Indicator |
|---|---|
| Zip/unzip mechanism 10 times | Glides smoothly each time |
| Test while wearing the dress | No catching or stiffness |
| Check at different body angles | No fabric distortion |
| Inspect for loose threads/stress points | Dress remains intact |
| Listen for unusual sounds | Silent, no grinding |
| Evaluate surrounding fabric movement | No puckering or pulling |
| Apply lubricant if needed | Zipper becomes smoother |
Say Goodbye to Dress Zipper Emergencies and Step Out in Style
Struggling with last-minute zipper issues right before a big event can leave anyone feeling anxious and uncertain. While the article guides you through quick repair tactics and ways to troubleshoot misaligned teeth or stubborn zippers, sometimes the risk or stress just is not worth it. Imagine arriving at your formal event confident that your dress fits perfectly, with no fear of wardrobe mishaps or imperfect fixes.

Why gamble with last-minute repairs when you can explore a stunning selection of formal dresses that are crafted for comfort and flawless details? Browse Dress Me Up NY for beautiful evening gowns, prom looks, and unique designer pieces designed with reliable construction in mind. Go beyond the stress of zipper trouble and secure a special occasion dress that lets you feel your best—shop now and discover current offers or browse the newest arrivals. Experience a smooth, seamless fit for your next event and leave zipper worries behind.
Frequently Asked Questions
What are common issues with dress zippers?
Common zipper issues include misalignment, fabric caught between the teeth, broken or bent teeth, and stiff movement. Conducting a visual inspection can help identify these problems.
How can I fix a stuck zipper on my dress?
To fix a stuck zipper, first check for fabric entanglement and gently extract any caught material with tweezers. You can also apply a lubricant like silicone spray or graphite from a pencil to ease movement.
When should I consider removing the zipper entirely?
You should consider removing the zipper if there are signs of irreparable damage such as broken teeth or persistent misalignment. If the zipper slider moves erratically and cannot be repaired, complete removal may be necessary.
What tools do I need for fixing a dress zipper?
Essential tools include needle-nose tweezers, small scissors, lubricants (like zipper wax or graphite), a seam ripper for removal, and a sewing kit with matching thread. Having these tools on hand can facilitate quick and effective repairs.
Recommended
- Alyce Paris 84015 Hand Beaded Sleeveless V-Neck Short Dress
- Jovani M1265 Long Sleeves Three Quarter Contemporary Blazer
- Jovani 42025 V-neckline Sleeveless Long Dress
- Shop Alyce Paris 27558 Faille Off The Shoulder Slight Train Dress