How to Tie a Wrap Dress: A Step-by-Step Guide
How to Tie a Wrap Dress: A Step-by-Step Guide

Tying a wrap dress might seem simple, but how you start makes all the difference for both comfort and style. Most people just put it on and go, skipping essential prep steps. Yet checking the dress label for specific manufacturer instructions can completely change your fit, helping turn a standard outfit into a statement of confidence and elegance.
Table of Contents
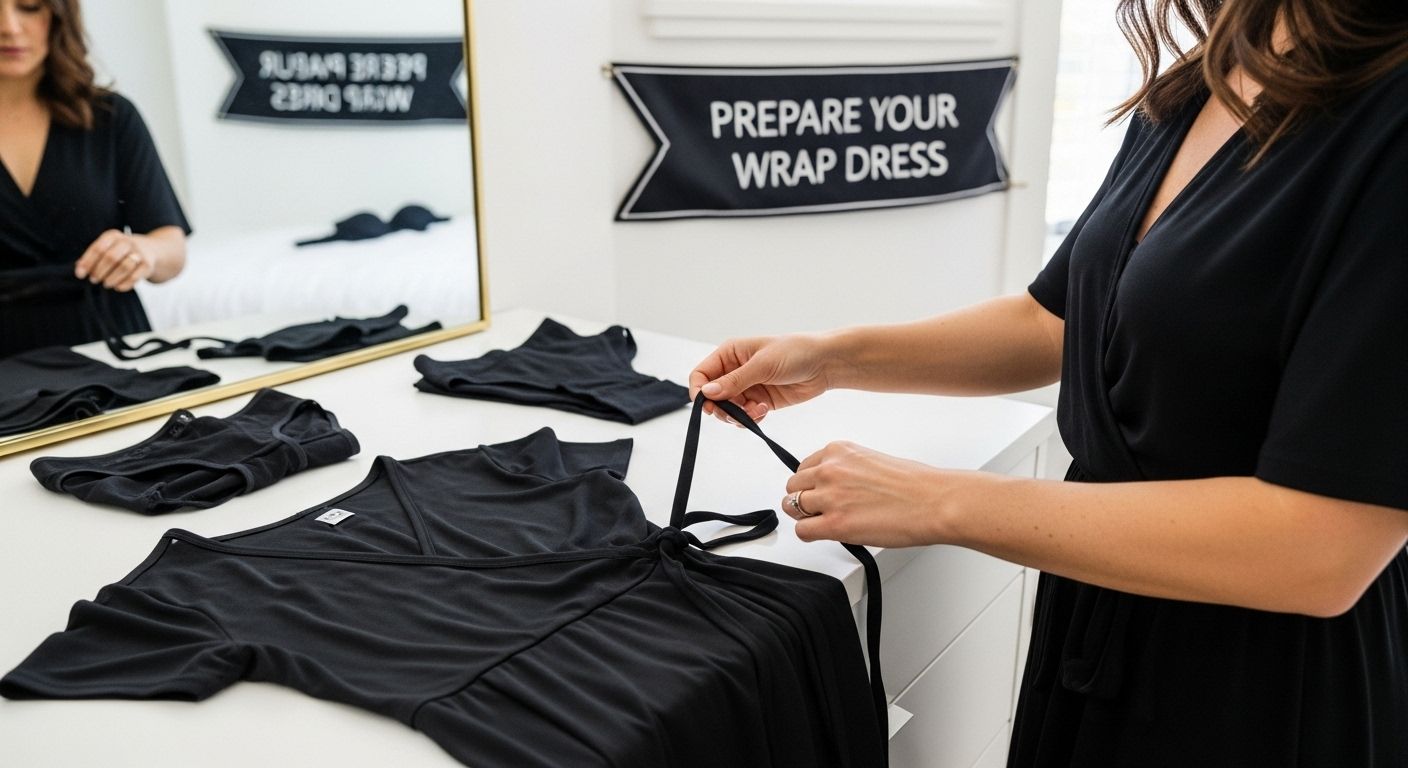
- Step 1: Prepare Your Wrap Dress For Tying
- Step 2: Position The Dress Properly On Your Body
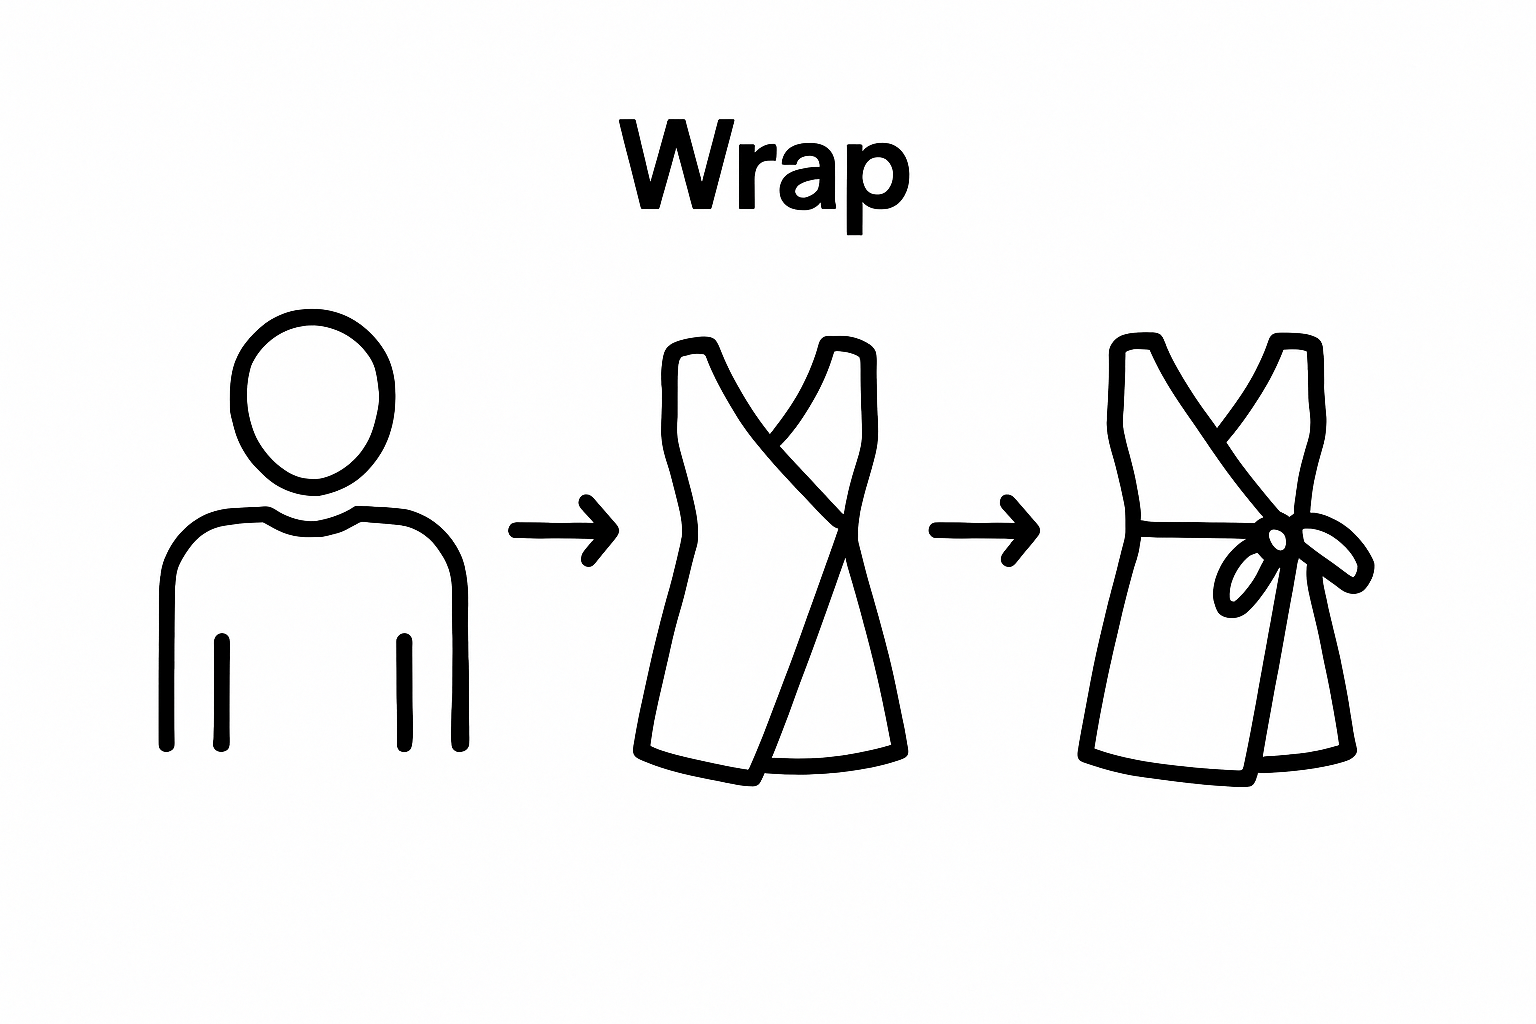
- Step 3: Wrap The Left Side Over The Right
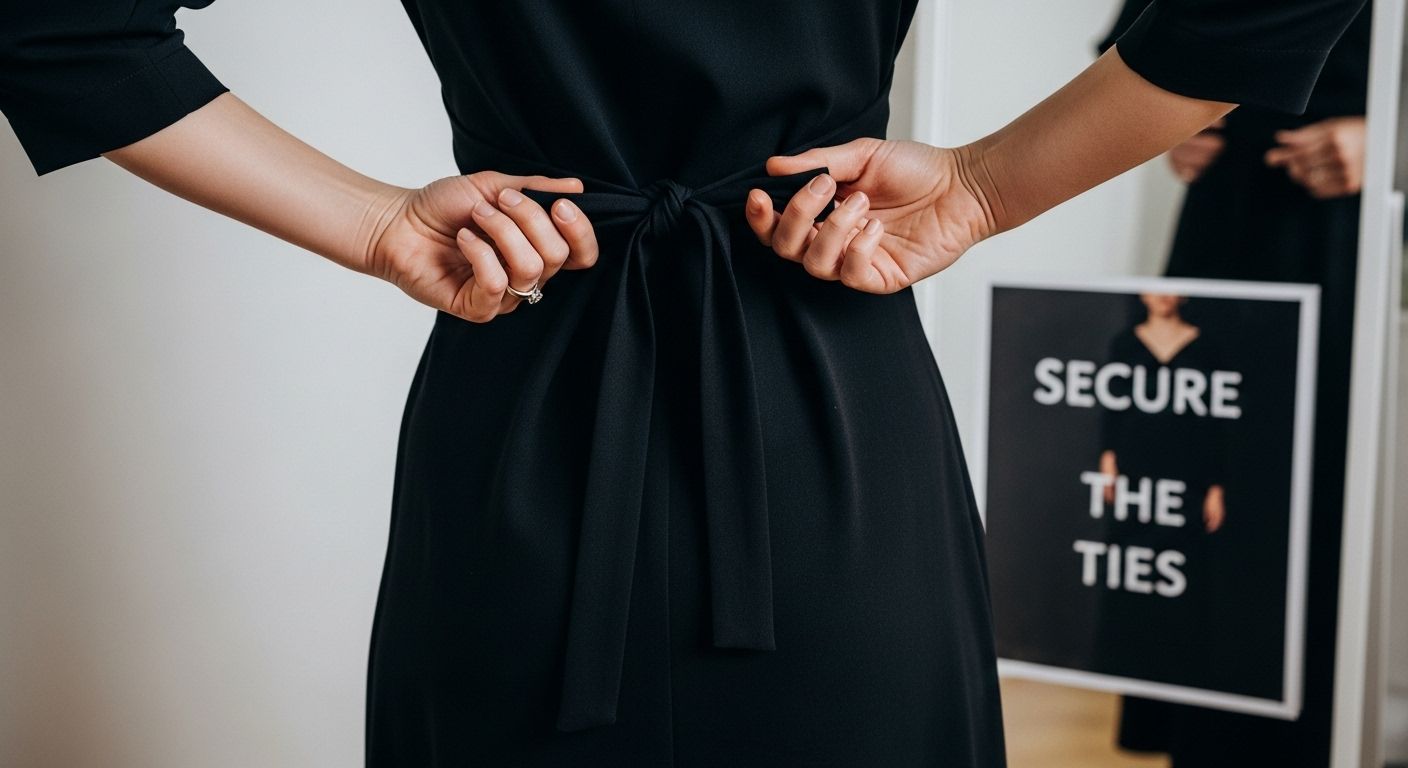
- Step 4: Secure The Ties Behind Your Back
- Step 5: Adjust The Fit For Comfort And Style
- Step 6: Verify The Look And Make Final Adjustments
Quick Summary
| Key Point | Explanation |
|---|---|
| 1. Prepare on a flat surface | Lay out your wrap dress to examine its design and understand any specific tying mechanisms before trying it on. |
| 2. Position carefully for comfort | Slip the dress on gently, ensuring the fabric drapes without twisting or bunching while finding your natural waistline. |
| 3. Wrap left side over right | Cross the left side of the dress over the right, creating a smooth line while maintaining proper fabric tension. |
| 4. Secure ties behind your back | Reach back to tie the dress securely without creating bunching, ensuring a snug yet comfortable fit. |
| 5. Verify fit and make adjustments | Check from all angles in a full-length mirror and adjust for comfort, style, and a flattering silhouette. |
Here is a step overview table summarizing the main actions and outcomes for each stage of tying a wrap dress. This helps readers quickly grasp the process and what to expect at every step.
| Step | Main Action | Purpose/Key Outcome |
|---|---|---|
| 1 | Prepare Dress | Ensures the dress is ready, label checked, and correct undergarments worn |
| 2 | Position Properly | Dress draped smoothly on body, natural waistline and hem confirmed |
| 3 | Wrap Left Over Right | Creates a flattering, secure silhouette with correct crossover |
| 4 | Secure Ties | Holds dress in place with smooth, even ties at the back |
| 5 | Adjust Fit | Smooths fabric, refines waistline, enhances comfort and style |
| 6 | Final Verification | Checks every angle and movement for flawless, confident appearance |
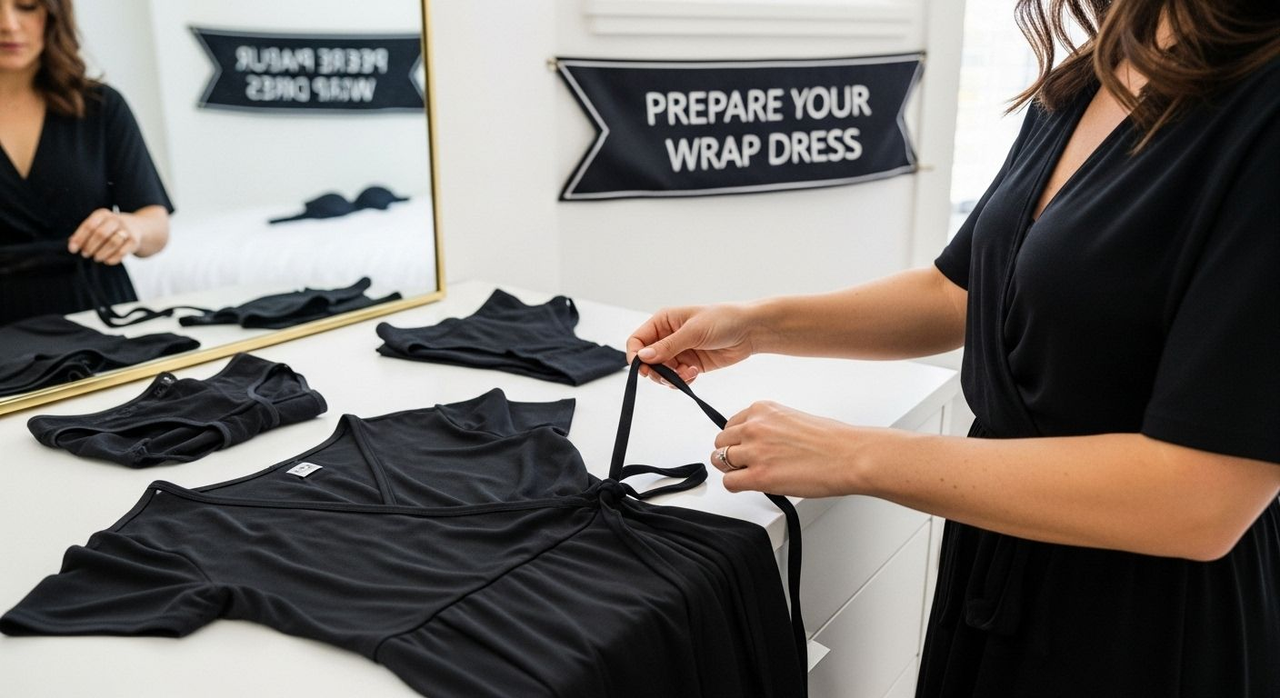
Step 1: Prepare Your Wrap Dress for Tying
Preparing your wrap dress for tying is a crucial first step that determines how elegantly and comfortably the dress will sit on your body. This initial phase sets the foundation for a perfect fit and ensures you look stunning at your event. Before you start tying your wrap dress, you’ll want to create the ideal canvas for a flawless look.
Begin by selecting a smooth, flat surface where you can lay out your dress and examine its specific design. Different wrap dresses have unique tie mechanisms, so understanding your particular garment is key. Check the dress label for specific manufacturer instructions, which can provide valuable insights into the recommended tying technique.
Carefully inspect the dress fabric and tie placement. Most wrap dresses feature either internal ties, external ties, or a combination of both. Look for these key elements:
- Internal fabric loops near the waistline
- Attached fabric ties on the side seams
- Complementary tie mechanisms that help secure the dress
Before putting on the dress, ensure you’re wearing appropriate undergarments that won’t disrupt the dress’s smooth silhouette. Seamless underwear or shapewear can help create a clean line and prevent unwanted fabric bunching. If your dress is made from a delicate material like silk or chiffon, consider using fashion tape to prevent any unexpected slippage or revealing moments.
Pay special attention to the dress’s length and how it falls on your body. Stand in front of a full-length mirror and do a preliminary drape test. Gently hold the dress against your body to understand how the fabric moves and where the ties naturally want to sit. This preview helps you anticipate how the dress will look when fully tied.
According to research from the University of North Texas, understanding garment preparation is crucial for achieving a perfect fit. By taking these preparatory steps, you’ll set yourself up for a confident and stylish wrap dress experience that highlights your personal elegance.
Step 2: Position the Dress Properly on Your Body
Positioning your wrap dress correctly is a critical step that transforms a simple garment into a stunning outfit that flatters your unique body shape. This phase is about creating a seamless, elegant look that accentuates your best features while ensuring maximum comfort and confidence.
Start by slipping the dress on carefully, making sure the fabric drapes smoothly without any unnecessary twisting or bunching. The secret to a perfect wrap dress is finding the right initial placement. Begin by identifying the natural waistline of the dress. This is typically the narrowest part of your torso, where the dress will create the most flattering silhouette.
Pay close attention to how the fabric falls across your body. The cross-over front should sit symmetrically, with the left side of the dress slightly overlapping the right side. Gently adjust the fabric so that it creates a smooth V-neckline that doesn’t gape or pull too tightly. This might require some subtle maneuvering to find the perfect balance.
If your wrap dress has side ties, position them so they sit comfortably at your natural waist. Avoid pulling the ties too tightly, as this can create unflattering bunching or restrict movement. Instead, aim for a gentle cinch that defines your waistline without creating discomfort.
Consider these key positioning tips:
- Ensure the hem falls at the most flattering point on your legs
- Check that the neckline sits evenly and doesn’t expose more than intended
- Move around to test the dress’s mobility and comfort
Body type plays a significant role in dress positioning. For those with an hourglass figure, the wrap dress will naturally accentuate your curves. If you have a straighter body type, you might need to spend extra time adjusting the ties to create more definition at the waist.
According to research from the Textile and Fashion Industry Training Centre, proper garment positioning is an art form that requires patience and attention to detail. Take your time and don’t be afraid to make multiple adjustments until the dress feels perfect.
Finally, do a full-length mirror check. Raise your arms, sit down, and move around to ensure the dress stays in place and maintains its elegant drape. The goal is a dress that looks effortlessly chic and feels comfortable throughout your entire event.
Step 3: Wrap the Left Side Over the Right
The art of wrapping a dress begins with mastering the fundamental technique of crossing the left side over the right, a method that creates a flattering and secure silhouette. This crucial step transforms a simple piece of fabric into an elegant garment that accentuates your body’s natural curves.
Start by grasping the left side of the dress with confidence. Hold the fabric firmly but gently, ensuring you have complete control of the material. The goal is to create a smooth, diagonal line across your body that starts at the left shoulder and travels down to the right hip. This crossover is more than just a functional technique it’s the defining characteristic of a wrap dress that makes it so universally flattering.
As you begin to wrap, pay close attention to the fabric’s tension. Too loose, and the dress will appear shapeless. Too tight, and you’ll create unflattering bunching or restrict your movement. The ideal wrap creates a gentle, smooth line that follows the natural contours of your body. Aim for a comfortable fit that provides structure without feeling constrictive.
Position your hands strategically. Your left hand should guide the left side of the dress across your body, while your right hand helps smooth and adjust the fabric. This two-handed approach ensures precision and helps prevent any awkward twisting or uneven draping. Slowly bring the left side of the dress across your body, allowing it to overlap the right side at a slight angle.
Consider these key points during the wrapping process:
- Ensure the fabric lies flat against your body
- Check that the neckline remains symmetrical
- Maintain a smooth, uninterrupted line from shoulder to hip
Different dress fabrics will require slightly different techniques. Lightweight materials like silk or chiffon demand a delicate touch, while more structured fabrics like cotton or jersey allow for more assertive wrapping. Take a moment to feel how the fabric moves and adjust accordingly.
According to research from The Tech Edvocate, there are multiple approaches to wrapping a dress, but the classic left-over-right method remains the most universally flattering. The key is to approach the process with patience and attention to detail.

Finish by taking a step back and examining your reflection. The left side should create a smooth, diagonal line that defines your waist and creates an hourglass silhouette. Gently adjust any areas that seem uneven, ensuring the dress looks intentional and polished. A perfectly wrapped dress is a testament to your personal style and attention to detail.
Step 4: Secure the Ties Behind Your Back
Securing the ties behind your back is the pivotal moment that transforms a wrap dress from a loose piece of fabric into a perfectly fitted garment. This step requires a combination of flexibility, technique, and patience to achieve a smooth, polished look that feels comfortable and looks stunning.
Reach behind you with both hands, grasping the dress ties confidently. The key is to maintain the dress’s position while creating a secure closure that doesn’t compromise the dress’s elegant drape. Begin by pulling the ties gently but firmly, ensuring they’re not twisted or bunched. Your goal is to create a smooth, flat closure that sits neatly against your back.
If you’re struggling to reach, try a few strategic techniques. Some people find it helpful to cross their arms behind their back, reaching for each tie from opposite sides. Others prefer to twist slightly at the waist, creating more accessible reach. Practice is essential - don’t get discouraged if it takes a few attempts to find your perfect technique.
Pay special attention to the tension of the ties. They should be snug enough to hold the dress in place but not so tight that they create uncomfortable pulling or bunching. A well-tied wrap dress should feel like a second skin, moving with your body without restriction.
Consider these critical tie-securing tips:
- Ensure both sides are equally tight
- Smooth out any fabric wrinkles as you tie
- Check that the ties sit flat against your back
Different dress fabrics will require slightly different approaches. Silky materials might slip more easily, requiring a firmer grip, while stiffer fabrics might need gentler handling. Take a moment to feel how the fabric responds to your movements.
Mirror verification is crucial. After tying, turn slightly to check that the back looks smooth and the ties are secure. Look for these signs of a perfect tie:
- No visible fabric gaping
- Ties sit flat and symmetrical
- Dress maintains its intended shape
According to research from the University of Wisconsin-Madison, proper dress construction and tie placement are fundamental to creating a well-fitted garment. The final tie is more than just a functional element it’s the finishing touch that elevates your entire outfit.
Take a deep breath and do a final adjustment. A perfectly secured wrap dress should feel like it was custom-made just for you comfortable, confident, and ready to make a statement.

Step 5: Adjust the Fit for Comfort and Style
The final step in tying a wrap dress is about perfecting the fit to create a look that is both comfortable and effortlessly stylish. This is where your personal touch transforms a standard dress into a statement piece that feels like it was custom-made just for you.
Begin by performing a series of mobility tests. Raise your arms, sit down, and move around to ensure the dress moves with you without pulling or gaping. A well-adjusted wrap dress should feel like a second skin, providing structure without restriction. Pay special attention to the neckline and waist area, as these are the most critical points for achieving a flattering and comfortable fit.
Carefully adjust the fabric to eliminate any unwanted bunching or twisting. Use your hands to smooth out any areas that seem uneven, creating clean lines that follow the natural contours of your body. The goal is to create a seamless silhouette that highlights your best features. For those with different body types, this might mean slightly different adjusting techniques. If you have a fuller bust, you might need to adjust the neckline to prevent gaping. Those with a more athletic build might focus on creating more definition at the waist.
Consider these key adjustment tips:
- Check the dress from multiple angles in a full-length mirror
- Ensure the fabric falls smoothly without pulling or stretching
- Adjust ties to create the most flattering waistline
Accessories can play a crucial role in fine-tuning your look. A slim belt can help define the waist further, while strategic layering can add dimension and solve any minor fitting challenges. Don’t be afraid to experiment with different styling options to find your perfect look.
Pay attention to the dress’s behavior as you move. A perfectly adjusted wrap dress should:
- Maintain its shape during movement
- Feel secure without constant readjustment
- Create a smooth, elegant line from shoulder to hem
According to research from AARP, V-necklines found in wrap dresses can beautifully balance body proportions and elongate the silhouette. This makes the final adjustment not just about comfort, but about creating a truly flattering look.
Take a final moment to appreciate your work. Stand tall, move confidently, and enjoy the transformation. A perfectly adjusted wrap dress is more than just an outfit it’s a statement of personal style and self-assurance.
Step 6: Verify the Look and Make Final Adjustments
The final verification process is your ultimate opportunity to transform a good outfit into a spectacular ensemble. This crucial step ensures that every detail of your wrap dress is perfectly positioned, creating a look that radiates confidence and sophistication.
Begin with a comprehensive mirror check from multiple angles. Stand in front of a full-length mirror and rotate slowly, examining how the dress looks from every perspective. Pay special attention to potential problem areas like the neckline, waistline, and hem. The goal is to catch and correct any subtle imperfections that might go unnoticed at first glance.
Use this checklist table during the final verification stage to ensure every aspect of your wrap dress look is perfect. Refer to it before heading out for added confidence.
| Verification Point | Description | Pass/Fail |
|---|---|---|
| Neckline | Sits perfectly, no gaping or pulling | |
| Waist Tie | Defines waist, ties are even and flat | |
| Hem | Falls at most flattering point on legs | |
| Mobility | Dress holds shape during movement | |
| Silhouette | Smooth contours, fabric not bunched | |
| Comfort | Feels secure, not too tight or loose |
Start by checking the front view. The dress should create a smooth, flattering silhouette that defines your body without clinging too tightly. Look for any unexpected gaping at the neckline or unusual fabric bunching around the waist. The crossover should create a clean V-shape that elongates your torso and provides an elegant line.
Next, assess the side profile. The dress should follow the natural curve of your body, creating a seamless line from shoulder to hem. Check that the ties are sitting evenly and the fabric drapes naturally. Any asymmetry or uneven pulling can disrupt the overall look of your carefully crafted outfit.
Consider these critical verification points:
- Ensure the neckline sits perfectly without gaping
- Check that the waist tie creates a defined silhouette
- Verify the hem falls at the most flattering point
Movement is the ultimate test of a perfectly tied wrap dress. Perform a series of practical tests:
- Sit down and stand up multiple times
- Walk around the room
- Raise your arms and move them around
As you move, pay attention to how the dress responds. A well-tied wrap dress should move with you, maintaining its shape and position without constant readjustment. If you notice any persistent issues, take a moment to make final tweaks to the ties or fabric positioning.
According to research from The Tech Edvocate, the final verification is about more than just appearance it’s about creating a dress that feels as good as it looks. Small adjustments can make a significant difference in your overall comfort and confidence.
Take a deep breath and stand tall. If you’ve followed each step carefully, you’ll see a transformation from a simple piece of fabric to a stunning, personalized outfit that celebrates your unique style and body shape.
Find Your Perfect Wrap Dress for Every Occasion
You have learned the step-by-step secrets to tying a wrap dress beautifully. But sometimes the challenge is more than just how to wear it. Maybe you struggle to find a wrap dress that truly fits right, stays put, and flatters your shape all night long. Or you dream of a wrap dress that needs no constant adjusting, letting you move confidently whether you are at a wedding, prom, or special event.

You deserve options designed for elegance and comfort. Discover the curated collection of formal wrap dresses and occasion-ready styles at Dress Me Up NY. Enjoy exclusive offers like free shipping and seasonal discounts when you shop today. Your ideal dress is waiting. Start browsing now and let Dress Me Up NY help perfect not just how you tie your wrap dress, but what you choose for your next event. Shop the latest arrivals and feel ready for every special occasion.
Frequently Asked Questions
How do I prepare my wrap dress before tying it?
Before tying your wrap dress, lay it flat on a smooth surface, check the dress label for manufacturer instructions, and ensure you’re wearing appropriate undergarments. Pay attention to the fabric and tie placement for a more comfortable fit.
What is the proper way to position a wrap dress on my body?
Slip the dress on carefully and identify your natural waistline. Make sure the cross-over front sits symmetrically, with the left side slightly overlapping the right. Adjust the neckline for comfort and check the hem’s length for a flattering fall.
How do I wrap the left side of a wrap dress over the right?
Grasp the left side firmly and create a smooth diagonal line across your body as it overlaps the right side. Ensure the fabric tension is just right—not too loose or too tight—and that the neckline remains symmetrical.
What should I do after securing the ties behind my back?
After securing the ties, perform mobility tests by raising your arms and moving around. Adjust the fit if there’s any bunching or twisting in the fabric to ensure a smooth silhouette that highlights your shape.
Recommended
- Terani Couture 251P4397 Scoop Neck Strapless Long Dress
- Tarik Ediz 98402 Tafetta Halter Neck Sleeveless Long Dress
- Buy Colette by Daphne CL5288 Novelty Glitter Sequin Dress

